Days
Hrs
Min
Sec
Image box widget helps you to show the image, title and the description.

Step 1:

Select the image box widget from the crazy elements(page builder) from the left side of the menu bar from your screen then drag and drop it in the selected area.

Step 2:

After dropping the selected area it will automatically take you to the content tab. In the content tab you will find options to choose your image. You can edit the image title, description, link and can fix the position of the image box left, right and center.

Step 3:

In the style tab you get the options to design your image. Here you can change the image width, can give hover effect, opacity, css filters.

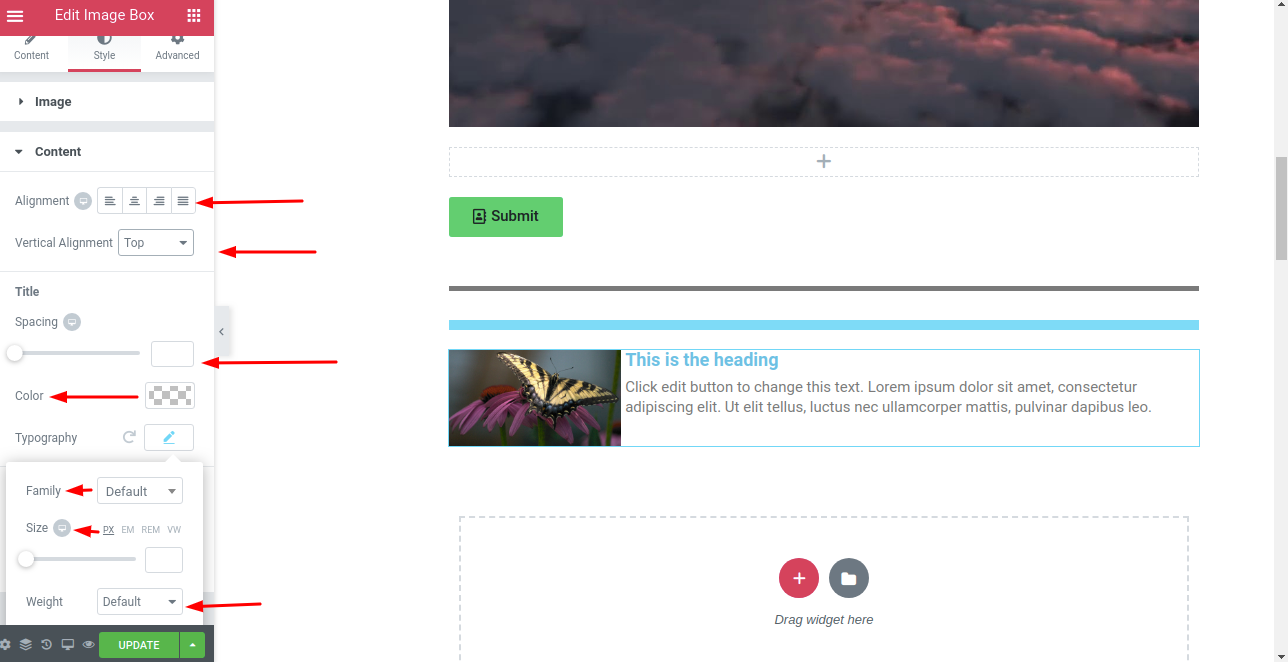
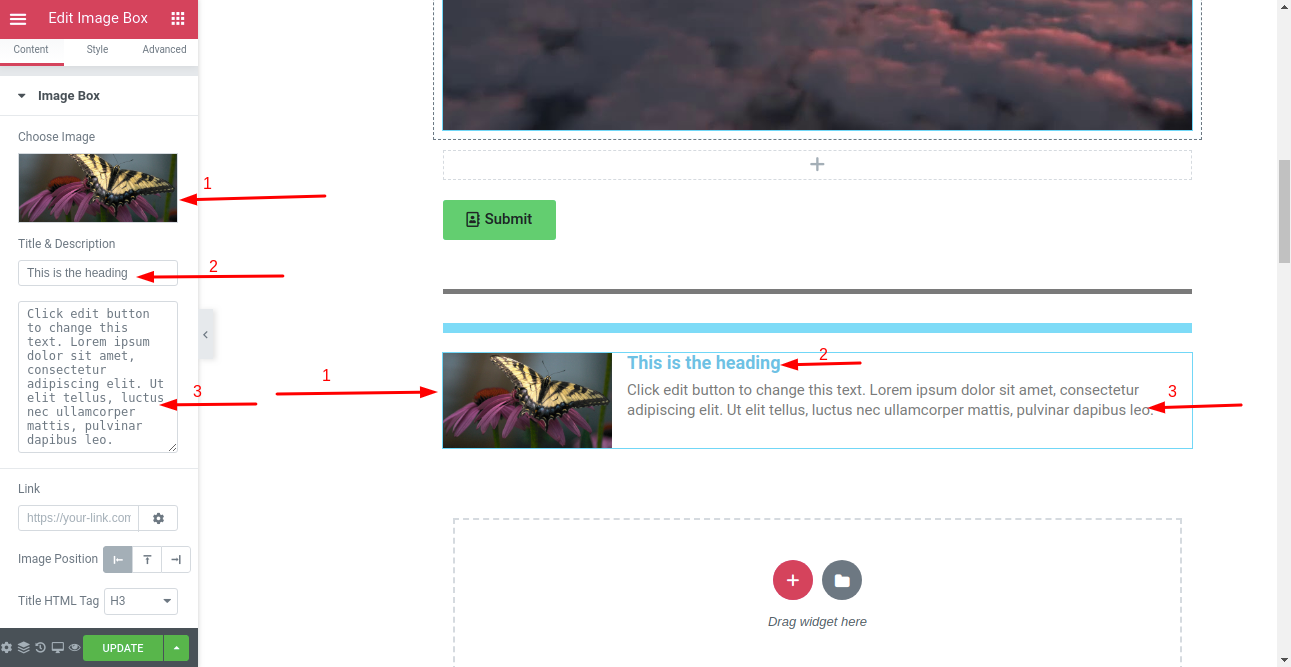
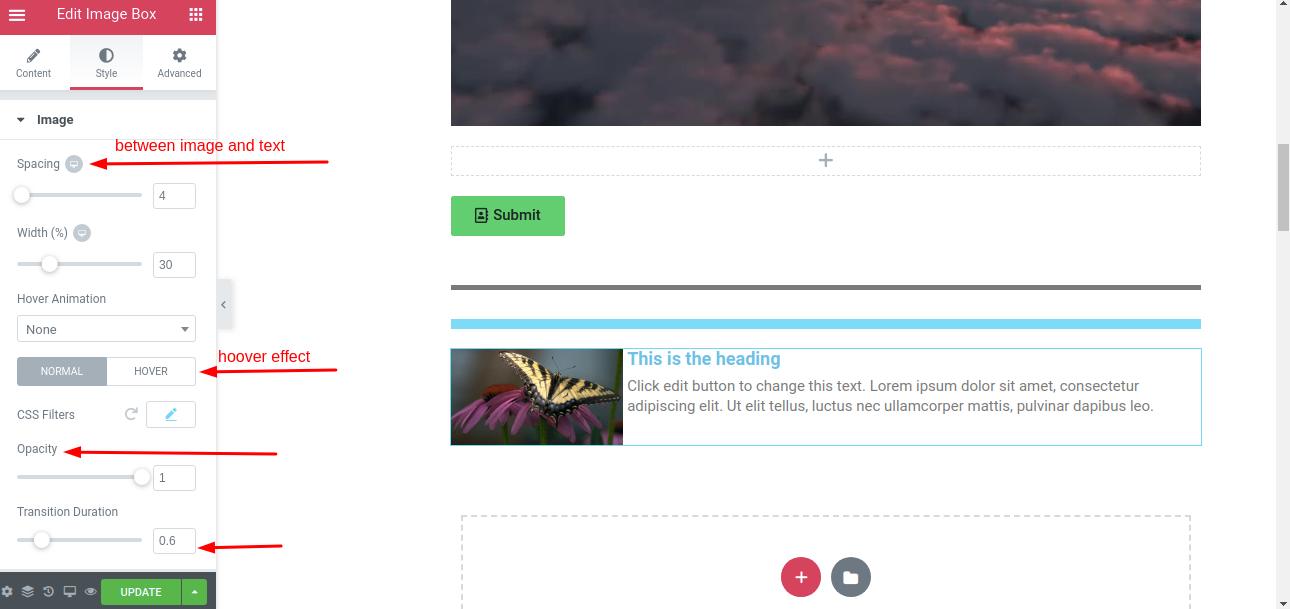
In the content tab you will get the option to give alignment(left, right, center, justified), can give vertical alignment(top, middle, bottom), can give space between text and image, In typography tab you can edit content size, weight, style, decoration, letter spacing.

Step 4:

In the Advanced tab you can add the margin, padding, Z-Index, CSS (Id, Class) motion effects, Background, Border, Responsive and others.

After left clicking on the background you will get two tabs Normal and Hoover. Here you can edit your image in two ways: classic or gradient. In both ways you can add background image, color, position, attachment, type(linear, radial) angle, location.

In the Border tab you can edit the border of your image  in two modes(Normal, Hover). In both modes you will get the different types of border options(Solid, Double, Dotted, Dashed, Groove) and you can give the border radius, box shadow(horizontal, vertical, blur, spread and the position(inline and outline)). You can also add custom positioning, responsive and custom css.

Video Tutorial

To get new videos, Please Don’t Forget to Subscribe Our  Youtube Channel!