Are you thinking about localhost Prestashop install, or how to install Prestashop on localhost using XAMPP or LAMP or CentOS/Ubuntu, then this article is for you. I will show you the step-by-step localhost Prestashop install.
Prestashop is the most popular content management system for e-commerce websites. A lot of small businesses and large enterprises use Prestashop.
Video Watch: How to Install PrestaShop on Localhost
How to Install Prestashop on Localhost
Before you start installing you need the following:
1. XAMPP server installed on your computer.
2. Prestashop installation Files.
Install XAMPP server on windows 10
- Go to official website of XAMPP and download it – Download XAMPP
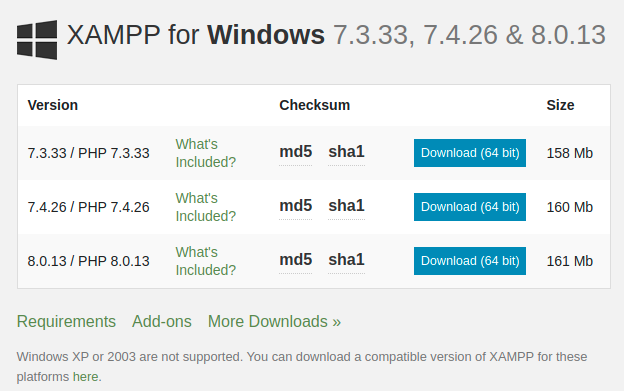
- Install XAMPP at any location, we install at c drive.
- Create project folder in the following htdocs directory.
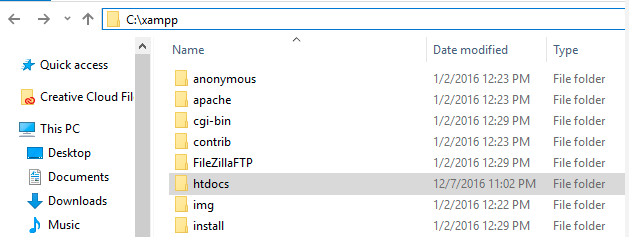
- Create project folder in the following htdocs directory
- Now you have to put the downloaded prestashop file in this project folder.
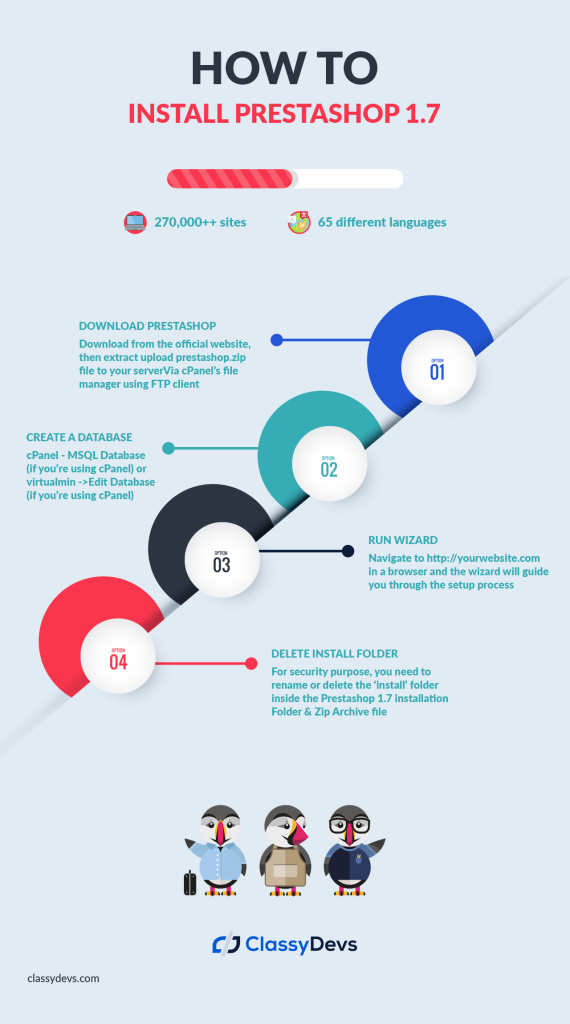
Prestashop installation process:
- Download the Prestashop.
- Create the Database.
- Upload the downloaded file to the server.
- Delete archive folder and install folder.
It will take some time to continue the process and setup. So you have to keep patience.
Download the Prestashop for Localhost Prestashop Install
At first, you have to download the Prestashop installation package from the official site of Prestashop. You can download the Prestashop.
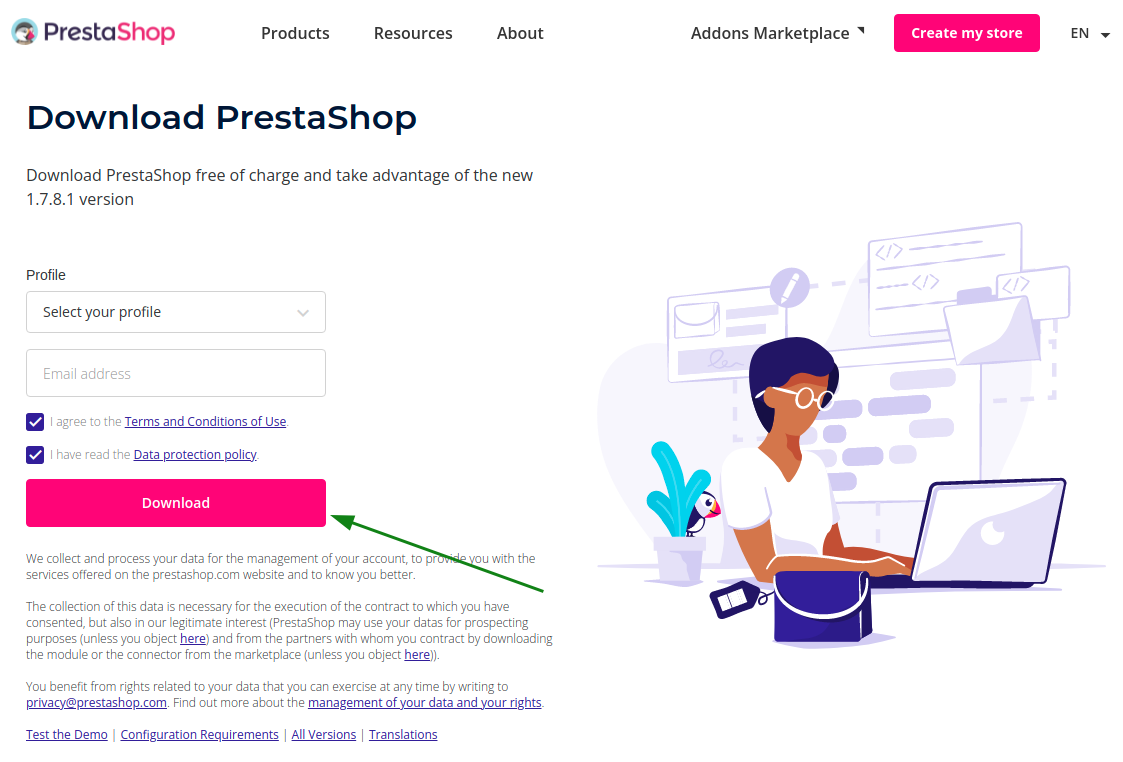
After downloading the Prestashop, extract the package and move all files to the htdocs project folder.
Create the Database
Now we have to create the database. To create the database, open the phpMyAdmin, then click on the Database tab and add the name, then click create button.

Upload the downloaded file to the server
When you have extracted the file, it’s time to upload the file to your server localhost. We have already uploaded the file in a folder named ‘newpstest”. So when we browse localhost in the website then we got our folder “newpstest”.
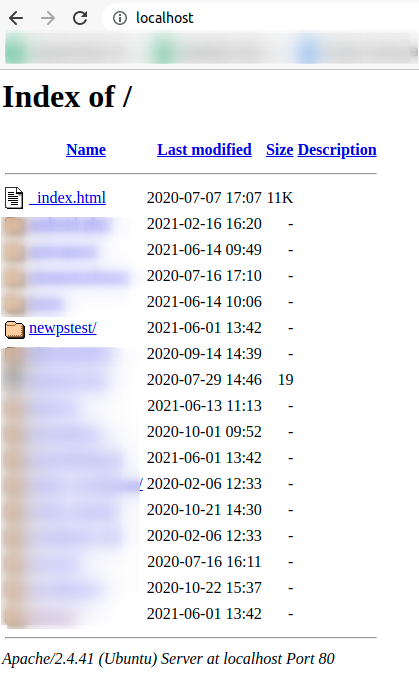
Now if you click on the “newpstest” then it will open up the Prestashop installation wizard.
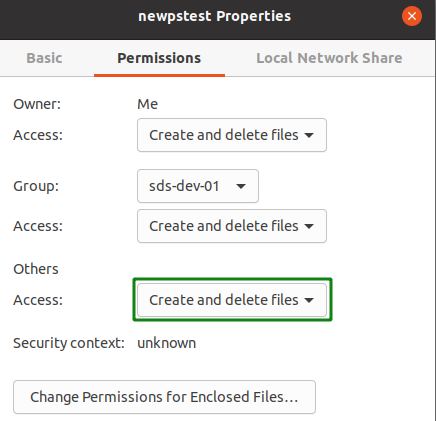
If you see an error like this then you need the grant write access permission :
“An error has occurred: You need to grant write permissions for PHP on the following directory: /var/www/html/newpstest”

So you have to Change file permissions of all directories to 777 using your FTP software. In Filezilla, this is done by:
File permissions >777>tick box to do it for all subdirectories> choose directories only. I’m using ubuntu and I give the folder permission to create and delete and it works for us.
Now the Prestashop starts installing and it takes little time.
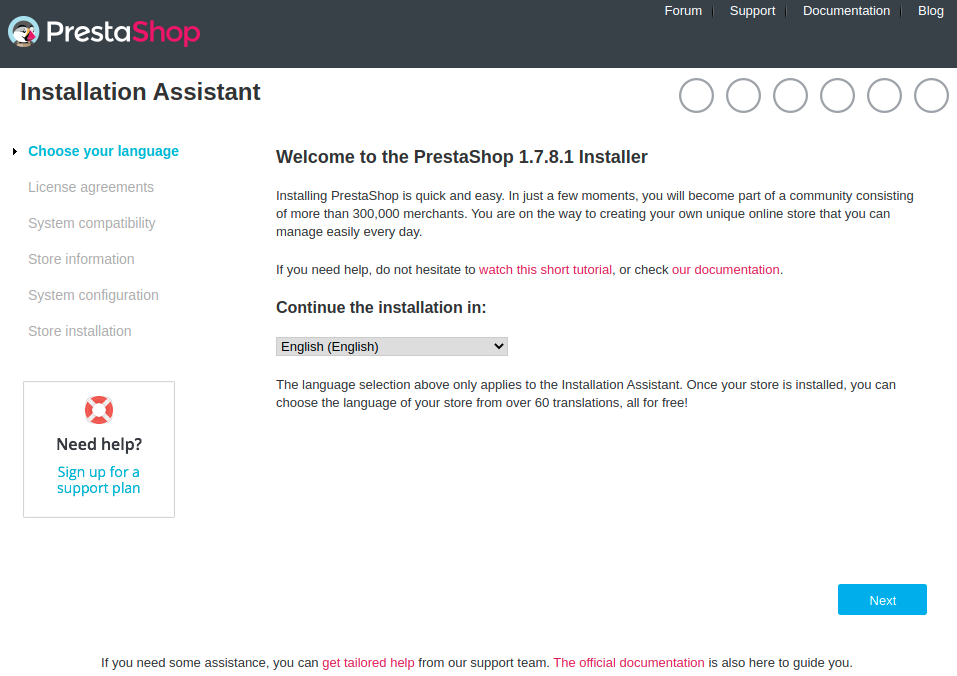
If your language is different then you can change the language from the dropdown of English language and click on the Next button.
Now you will see the License Agreements window. Check the “I agree to the above terms and conditions” and click on the Next button.
Now you will see the window “Information about your store”, and fill the form and click on Next Button.
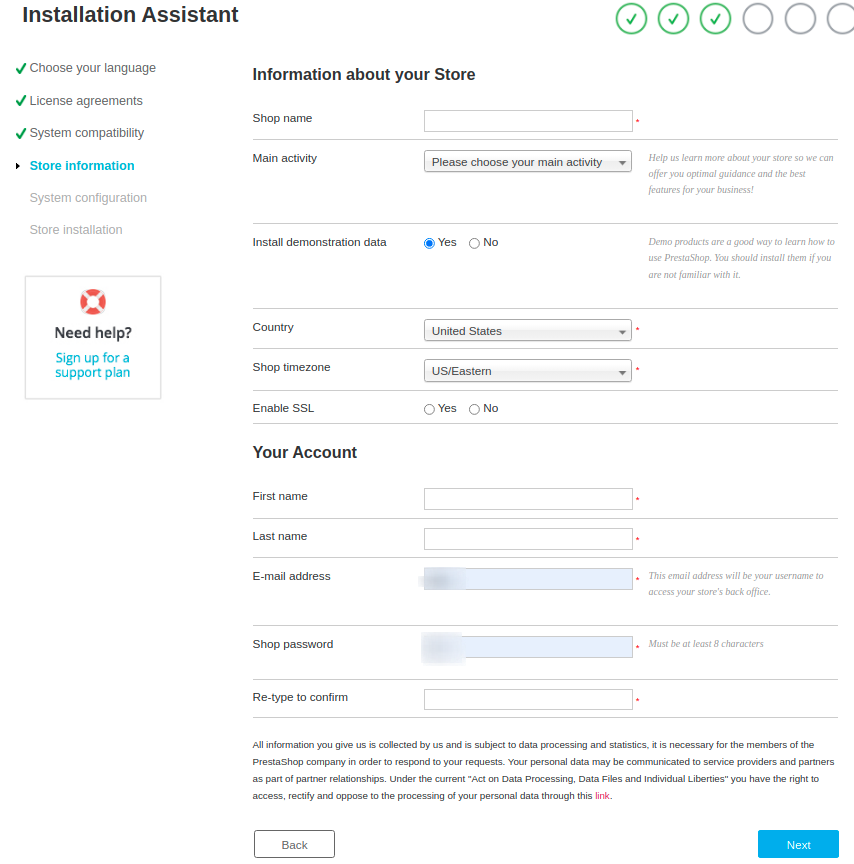
Now you have to configure your database by filling out the following fields.
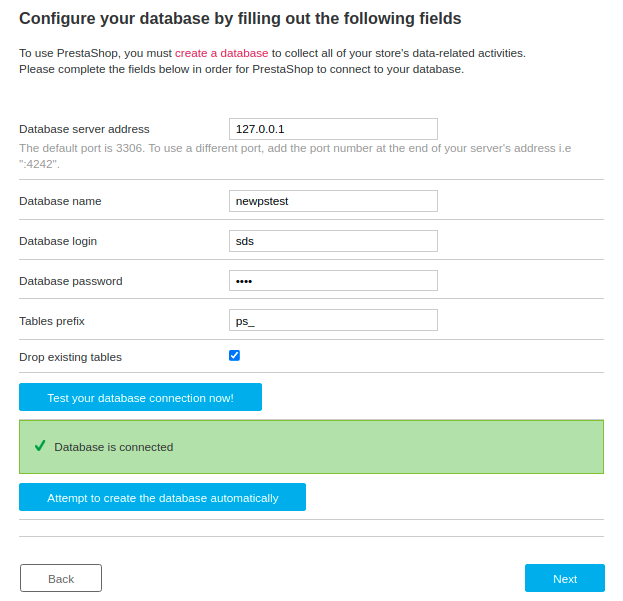
You have to put the database name, database login, password and then click next.
Note: At first we create the database from phpMyAdmin, and we put the same name to the database name.
Now you will see the Installation finish window! When you click on the Prestashop back office or front office then you will see an error like this:
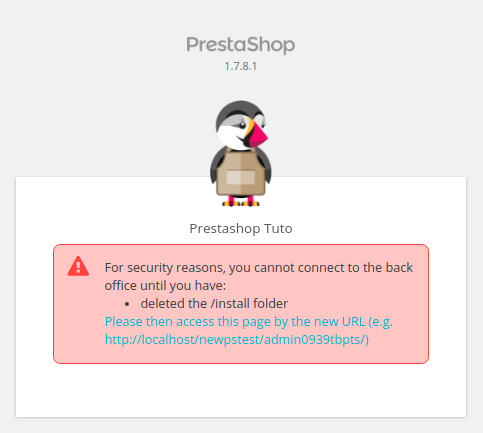
Delete archive folder and install folder
Now go to your installed Prestashop folder inside www, so there you will get the folder name “install”
- Delete the install folder.
- Delete the cache folder from var > cache.
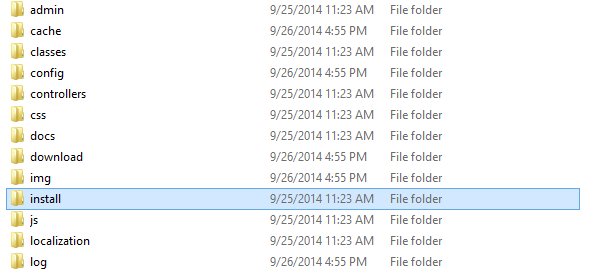
- Rename the admin folder. Make sure not put the exact name “admin”. Use anything without admin.
Read: Prestashop Vs Shopify In 2021: What To Choose?
If you want to find the Prestashop Admin Login URL then read this:
How to Find The Prestashop Admin Login URL Panel
If you feel any issues to apply the above process, feel free to explore our PrestaShop Development Services.


